


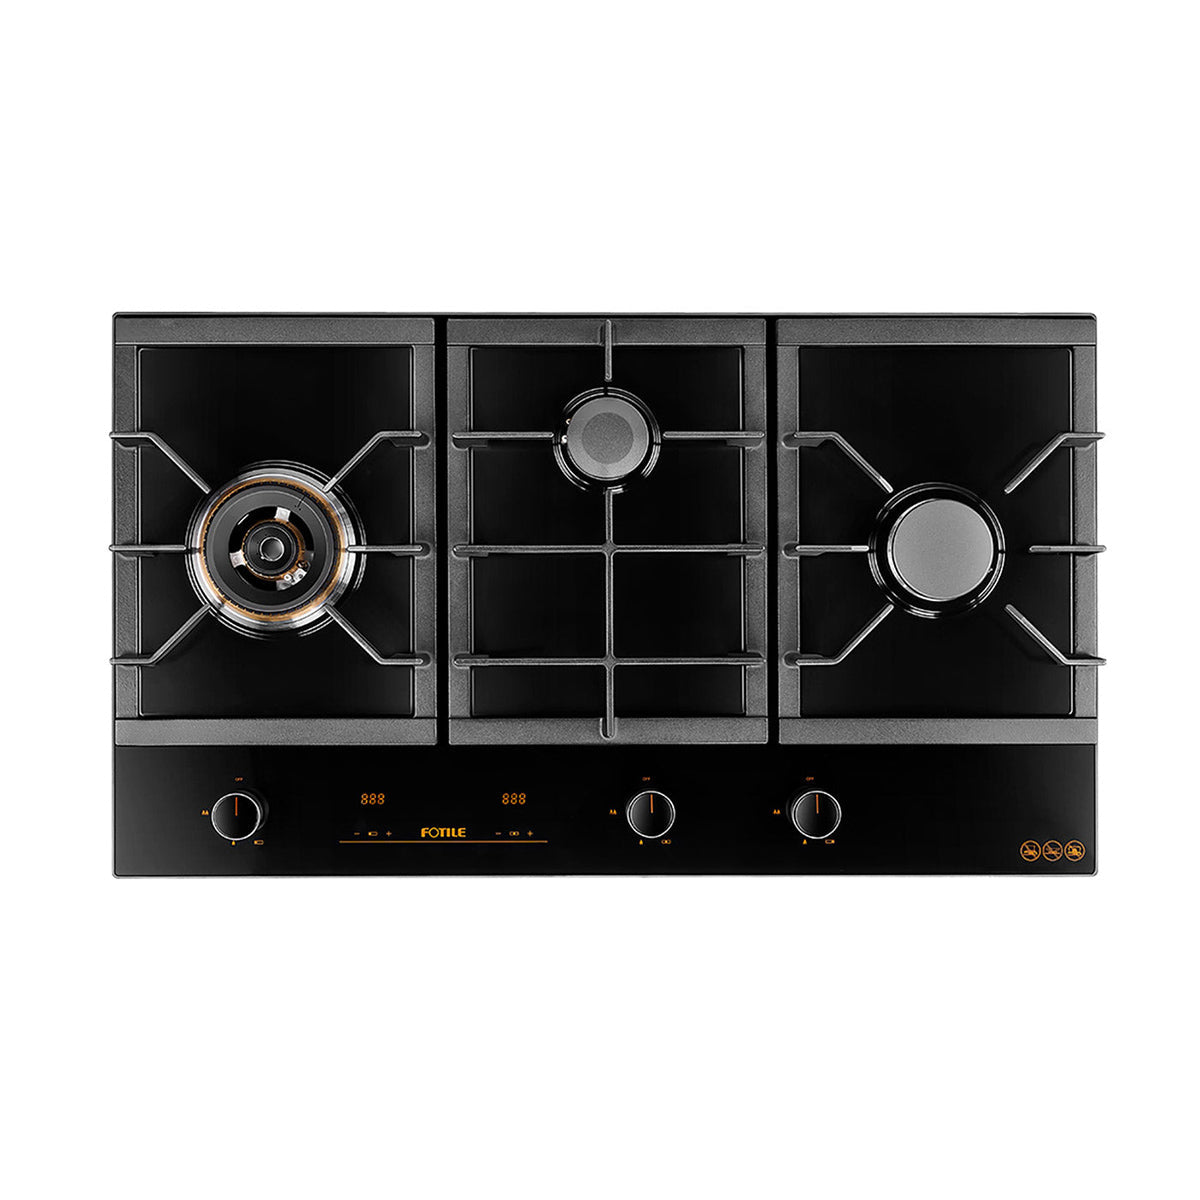


Range Hoods
The length of the air outlet pipe, the number of corners, the angle of bending and the sectional area size will affect the pressure of the air outlet pipe. So the total length of the air outlet pipe should not exceed 5 metres and the number of bend corners should not exceed 3 (both requires must be met at the same time), otherwise the suction will be weaker after installation.
1. The best place is above the ceiling, as it's safe and elegant.
2. 1.5m or more from the middle of the hob.
1. The smoke exhaust hole must be prepared. And the opening of the flue must be a round hole of 180mm in diameter.
2. Set aside 10A power socket.
The weight capacity of the wall must be considered for range hood installation. Holes can be punched directly on concrete brick walls. For hollow walls, the thickness of the solid layer of the hollow panel must be greater than 30mm, while the overall thickness of the wall must be greater than 80mm.
Intelligent venting function can detect gases: formaldehyde, ammonia, carbon monoxide, benzene, cigarette smoke, alcohol, hydrogen and other irritating gases.
On the one hand, it is related to the type of oil you use, grease pipeline of Fotile range hood is longer than others, so some easily condensable oil will condense in the grease pipeline and do not reach the grease cup. On the other hand, it is also related to the range hood usage frequency and the amount of oil. This situation will not affect the use of the range hood.
The range hood needs a 10A socket.
The labels for the side suction style range hood and European style range hood are on the top of the left side of the machine.
The longer the pipe is, the greater the pressure loss, and will result in a reduced suction.
The automatic cruise booster function is mainly designed for the smooth smoke extraction.If the flue resistance is large, the smoke is not smooth. After starting the automatic cruise booster function, it can automatically detect the resistance of the flue, and when the resistance of the external flue increases, the fan will automatically switch into the booster mode, which can help the grease discharging smoothly.
The diameter of the air outlet pipe of FOTILE range hood is 180mm. If the diameter of installed air outlet pipe is shorter than 180mm, the suction effect will be diminished and it will be noisy.
(1) Installing cabinet first and then range hood can prevent the hood from being installed unevenly.
(2) To avoid the bumping and to prevent dust and wood chips from falling into the range hood when installing the cabinet.
(3) To prevent the range hood from can't being removed later."
After installing the hood, all the protective film on the surface needs to be torn off. If it is removed a long time after installation, the surface color of range hood will become uneven. And the adhesive of the protective film left on the stainless steel surface will be difficult to clean.
The inner structure of the range hood is complex, in order to avoid damage to the machine during disassembly, please do not disassemble it by yourself, It's better to ask the professionals for operation.
(1) When using the range hood, you need to ensure the air circulation in the kitchen. And after each meal, the surface of the range hood should be cleaned in time. The regular cleaning of the range hood can effectively avoid dripping oil and oil leakage.
(2) Do not use rough tools such as cleaning cloths, wire balls or hard brushes, but use soft cloths when cleaning.
(3) It is strictly forbidden to use strong acid and alkali cleaners. Neutral cleaning agents are effective and cleaning the grease filter once every three months is required."
(1)Before installing the grease cup into the range hood, add a little water and a little detergent into the grease cup first, for easier cleaning.
(2)You can use white oil to remove handprints from stainless steel.
(3)You can use a wet towel with a little gypsum powder (old powder) to remove the yellow mark. The gypsum powder is available in paint stores."
Cooktops
Five tips for cleaning the hob:
1. Beer soaking method: Soak the rag in beer for a while, wipe the stubborn stains of the cooktop, the cooktop can be shiny as new.
2. Potato peel wiping method: Try to wipe the cooktop with the inner skin of the potato peel, and then wash it again with hot water, the cleaning effect is really good.
3. The residual temperature wiping method: When the hob still has residual temperature after cooking, wipe the panel with a soft cloth dipped in neutral detergent, remember not to use a scouring pad or wire ball to wipe, otherwise the panel will be scratched.
4. Flour wiping method: Flour can absorb grease. Evenly sprinkle a layer of flour on the panel, and then gently scrub with a soft cloth, most of the oil stains can be removed, and then use a clean wet rag to scrub the cooktop again to completely clean the oil stains.
5. Baking soda cleanning method: Mix baking soda with a small amount of water, and then apply it to the panel, those stubborn old oil stains will be decomposed quickly. You can scrape off a layer of oil with gentle wipe, and with a cleaning sponge, you can remove most of the oil stains.
It is normal to ignite a hob within 10 seconds.
The flameout protection device of Fotile hob is thermocouple type Working principle of the flameout protection: When ignition, press the knob to open the solenoid valve, the gas flows out to the burner, the flame heats the thermocouple to produce the thermoelectric potential, after 5-10 seconds, when the force generated by the current in the solenoid valve coil is greater than the force of the spring on the solenoid valve disc, you can make the magnetic core of the solenoid valve adsorbs the disc, after releasing the knob, the solenoid valve is in the open state, the gas stove can work normally. In the process of using the gas hob, if the flame suddenly extinguished, the thermocouple without flame heating will decrease the thermoelectric potential. When the force generated by the current in the solenoid valve coil is smaller than the force of the spring on the solenoid valve disc, the solenoid valve will be closed under the action of the spring, it will also cut off the gas supply, and plays a protective role.
Based on the working principle of this safety device, it has some characteristics:
① It takes 3 to 5 seconds to ignite
② Generally the gas supply is cut off after 30 seconds of accidental extinguishing."
Neutral, non-corrosive cleaning agents are required to clean stove panels and burners. And if stainless steel panels are getting dirty, they need to be cleaned immediately with a wet soft cloth and neutral cleaning agents. For the moving parts of burner, such as copper ring burner, it needs to be cleaned with hot water and neutral detergent after the sintering lumps are removed. To avoid scratching the panel, it is strictly forbidden to wipe the hob panel with a steel ball.
1. Gas reasons: When the gas contains too much impurities or moisture, it will make the flame red.
2. Environmental reasons: When there is dust in the kitchen or the amount of moisture and oil in the air increases, the flame is also easy to be red.
3. Pot holder reasons: The enamel on the surface of the pot holder will be red after high temperature heating. The flame color will change when the flame burns to the foot piece of the pot holder.
4、Damper reasons: If the damper is not adjusted in a proper position, the flame will also be red. You only need to adjust the damper to the right position."
Generally, the situation of only half of the flame appears is due to the blocked fire hole. After long-term use, the grease and food residue blocked the fire hole, and resulting in the ignition failure. The reason for no flame on the outer ring is also because of the blocked fire slot. You can take a toothpick to unblock the fire hole and fire slot from the inside out, and the problem will be solved.
1. [Unclog the fire hole] We suggest you to take down the ring burner and take a needle to unclog the part of the fire hole that is not on fire.
2. [Off-flame guidance] This is also a phenomenon of off-flame, put the pot on and it can be solved."
Many new users release the switch as soon as they see the spark when they ignite the hobs, that's why the ignition was not successful.
Correct ignition: knob down to press the switch in place after the 90 °
counterclockwise rotation. Hold the switch for 2-3 seconds after seeing the fire and then release it. After doing that, the success rate of ignition will be improved.
There are also the following two reasons for ignition failure:
(1) There is air in the pipe, please try a few more times. (You can also do that after the new gas bottle is replaced)
(2) The burner ring is not placed properly. It is recommended to check whether the burner ring is properly placed, flat and closed.
1. [Unblocking of fire holes] You need to do a simple daily maintenance. Take out the ring burner and use a needle to unblock the fire holes, especially the thin ignition holes near the white ignition needle. After cleaning, put the ring burner back in place and observe if the problem is solved.
2. Small flame and flame out: If the hob flameouts when the fire is small or when opening and closing kitchen cabinet doors, it is recommended to switch the kitchen cabinet door a little slower and lighter, because the hob supplies air from the bottom, pumping air when opening and closing cabinet doors can cause flameouts.
3. Large flame and flame out: For lower air inlet hob, it may be caused by too sealed cabinet, the insufficient air replenishment will lead to flameout of the hob. You need to open the cabinet doors a little bit or open holes on cabinet doors below the hob to ventilate.
4. If the above contents still cannot solve your problem, please contact the after-sales for help, maybe the thermocouple is broken."
"Take away the pot stand and burner ring, you can find two needles in the middle of the stove, the white needle is the ignition needle, and the copper-yellow one is the thermocouple. If the thermocouple is dirty or damped, there will be a flameout as soon as user releases the switch. So it is recommended to use a dry rag or tissue to wipe the thermocouple.
Correct ignition: knob down to press the switch in place after the 90 ° counterclockwise rotation. Hold the switch for 2-3 seconds after seeing the fire and then release it. "
You can't just change it, you need to replace the original nozzle with a different air source. If you need to convert the liquefied petroleum gas, please consult your local service hotline for details.ers.
Because the battery is running out of power. And there will be a slow clacking sound and a faint spark, it is recommended to replace with new battery. For Fotile hobs,it is recommended to replace the battery once a year. You can find a battery box under the hob, and replace with a new No. 1 battery.
The hob can be installed. But on the one hand, the hob is not installed elegantly. On the other hand, because the surrounding area of the countertop will also be load-bearing, if the square corners are used for a long time, they will crack easily, so it is recommended to punch holes that match the Fotile hob.
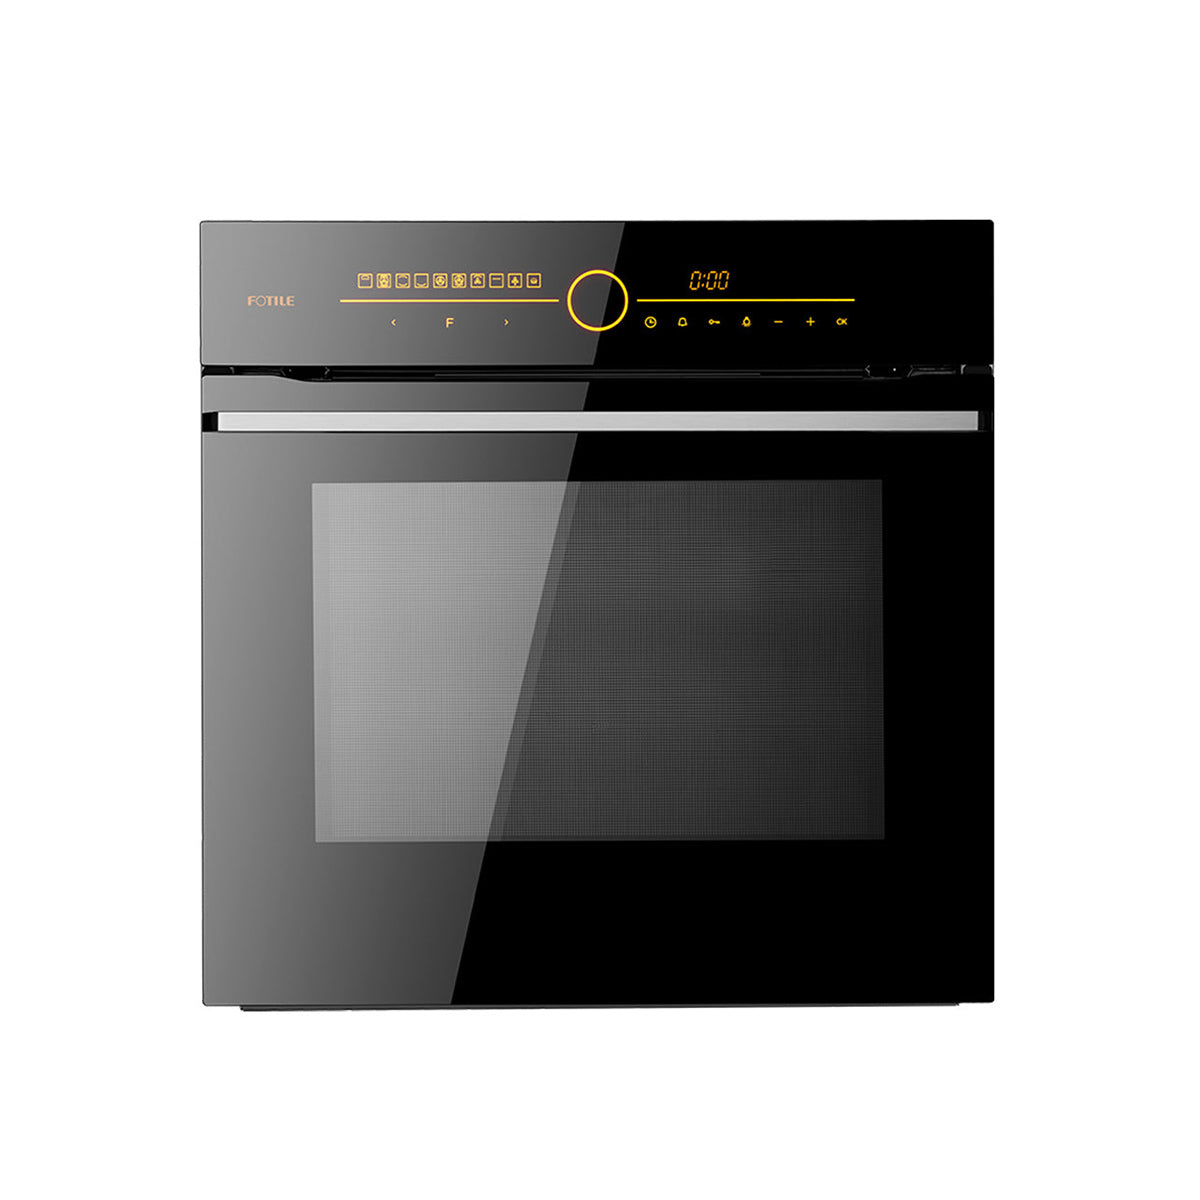
Electric Ovens
1. After baking, it is recommended to clean the oven and baking tray with a rag, soft sponge or soft nylon brush dipped in warm water with cleaning detergent. It's better to clean immediately after the oven or baking tray has a residual temperature; the longer the stain remains the more difficult it is to clean.
2. For stubborn stains, soak the backing tray first and then clean with a damp sponge. Do not use abrasive cleaners, sharp metal tools, as they will scratch the surface.
3. If you do not clean the grease for a long time and it's difficult to remove, you can put a metal container with boiling water into the steam oven, turn on the steam oven and let the water steam soften the grease off and it will be easy to be removed."
The purpose of the white powder on this door seal is to prevent the seal from sticking to the door glass when cooking at high temperatures. It is made from edible talc (often used as a pharmaceutical and food additive) and is not harmful to human health. Our advice is to leave it on, but if you really feel it affects the appearance, you can remove it by wiping with a damp rag.
It is recommended to set the oven to 180 degrees or more for a while in the empty oven and the water droplets will evaporate.
It is a lubricant to reduce frictional wear, reduce noise and facilitate opening and closing.
The temperature displayed on the panel is the average temperature of the cavity, whereas the test temperature of the thermometer is only the actual temperature at a certain point and it is not representative. Also for ovens, the closer you are to the heater, the higher the temperature is.
(1) Abrasive cleaners, such as powdered and paste cleaners.
(2) Sharp metal tools.
(3) Oven sprays.
The water in the connection slot is not cleaned in time: when the oven is working, the food will produce water vapour, the water vapour becomes cold and slowly turns into water droplets that gather together and drip down. You can clean the water in the slot under the door after each use.
"You can choose where to place the dishes according to your preferred taste, some like it charred and some like it tender. For dishes that need to be cooked quickly, we recommend placing them on the middle and top shelf, such as chicken wings, steaks and other meats. For slow baking, the lower tier is recommended, such as macarons, cakes, breads and other pastry items. Other dishes can generally be placed on the middle layer."
It is normal for an electric oven to evaporate and form water vapour as the food being baked contain moisture as the temperature rises during the baking process.
It is recommended that the potatoes are wrapped in tinfoil to avoid losing moisture, as they require a longer baking time. You can also lower the baking temperature and prolong the baking time to roast the potatoes.
There is no fixed cooling time for the oven, after the oven has finished working, the cooling fan will keep working until the inner temperature is below 70°C, which is in order to dissipate heat to protect the machine and your cabinet. If you think the cooling time is too long, you can also open the door to accelerate the cooling.
(1) Odors often arise when the oven is first used, which is due to evaporation of the substance applied to protect the oven during storage.
(2) When using the oven for the first time, it is advisable to set the temperature to the maximum and remove the left and right wrapping from the oven, empty the oven, and keep it warm for more than half an hour, then open the oven door to ventilate."
It is recommended to set the oven to 180 degrees or more for a while in the empty oven and the water droplets will evaporate.
Canned food with lid opened container and heat resisting container can be cooked in the oven. But unopened cans of food can not be heated in the oven, for closed jars will result in physical injury or oven damage because of the increase in pressure. It's similar to the nuts such as chestnut, be sure to use a knife to open the shell before roasting.
It is recommended to clean the oven immediately after use, if the grease is not wiped off for a long time, then put a metal container filled with boiling water into the oven, then turn on the oven, the steam will soften the grease off and it will be easy to be removed.
"(1) Electricity: A separate 2.5 square wire and 16A socket are required;
(2) The materials of kitchen cabinet (wood, adhesive) for oven installation must withstand temperature above 120℃;
(3) To maintain ventilation, the back gap of the kitchen cabinet should be greater than 45mm."
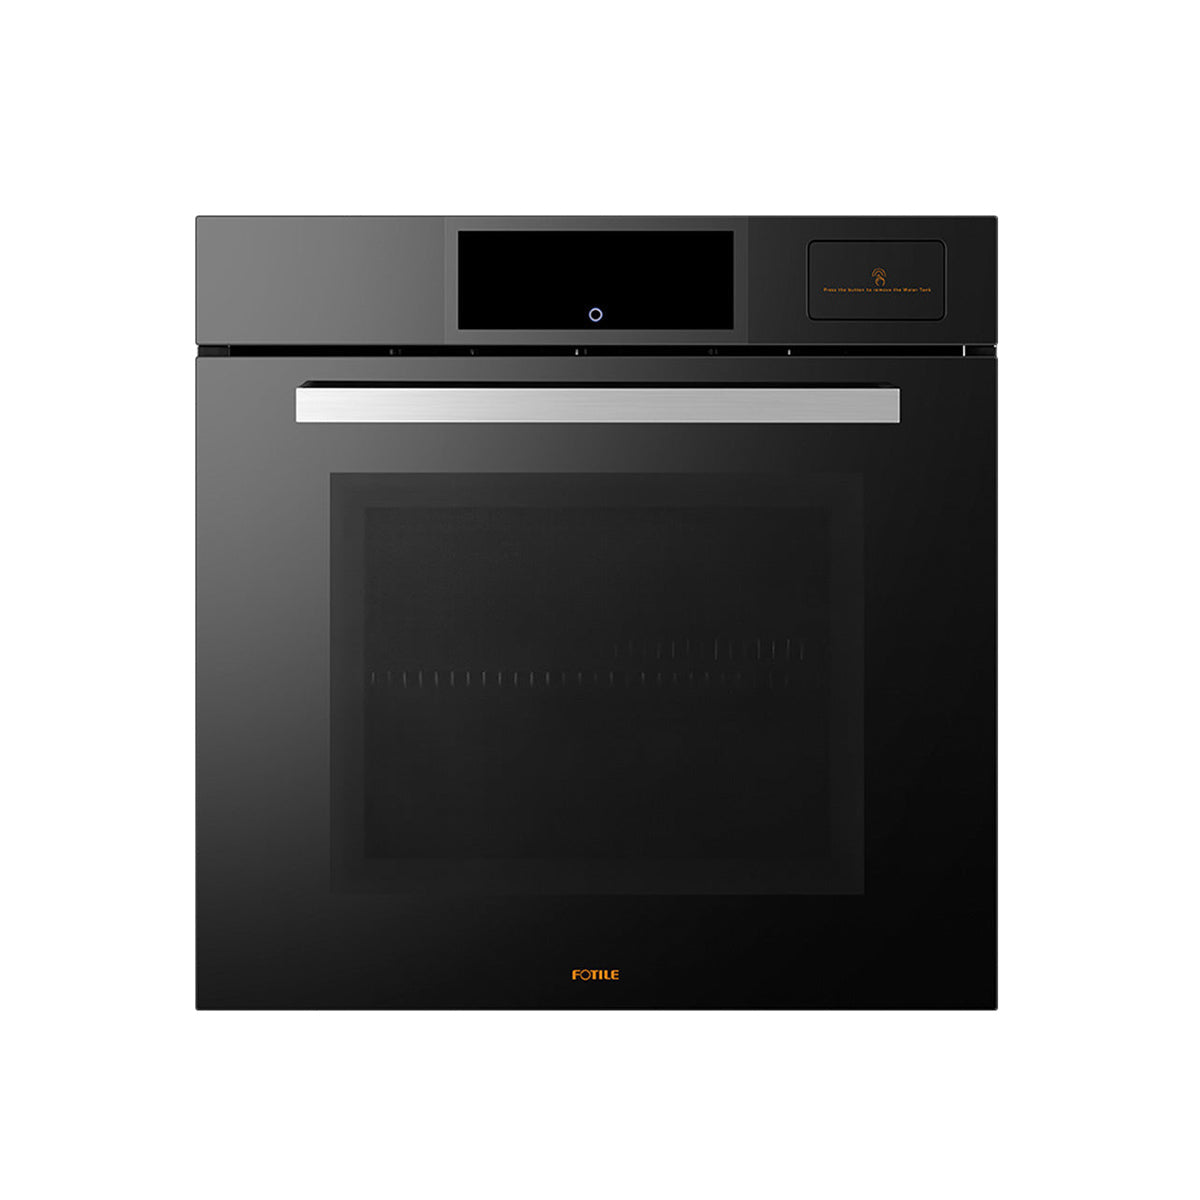
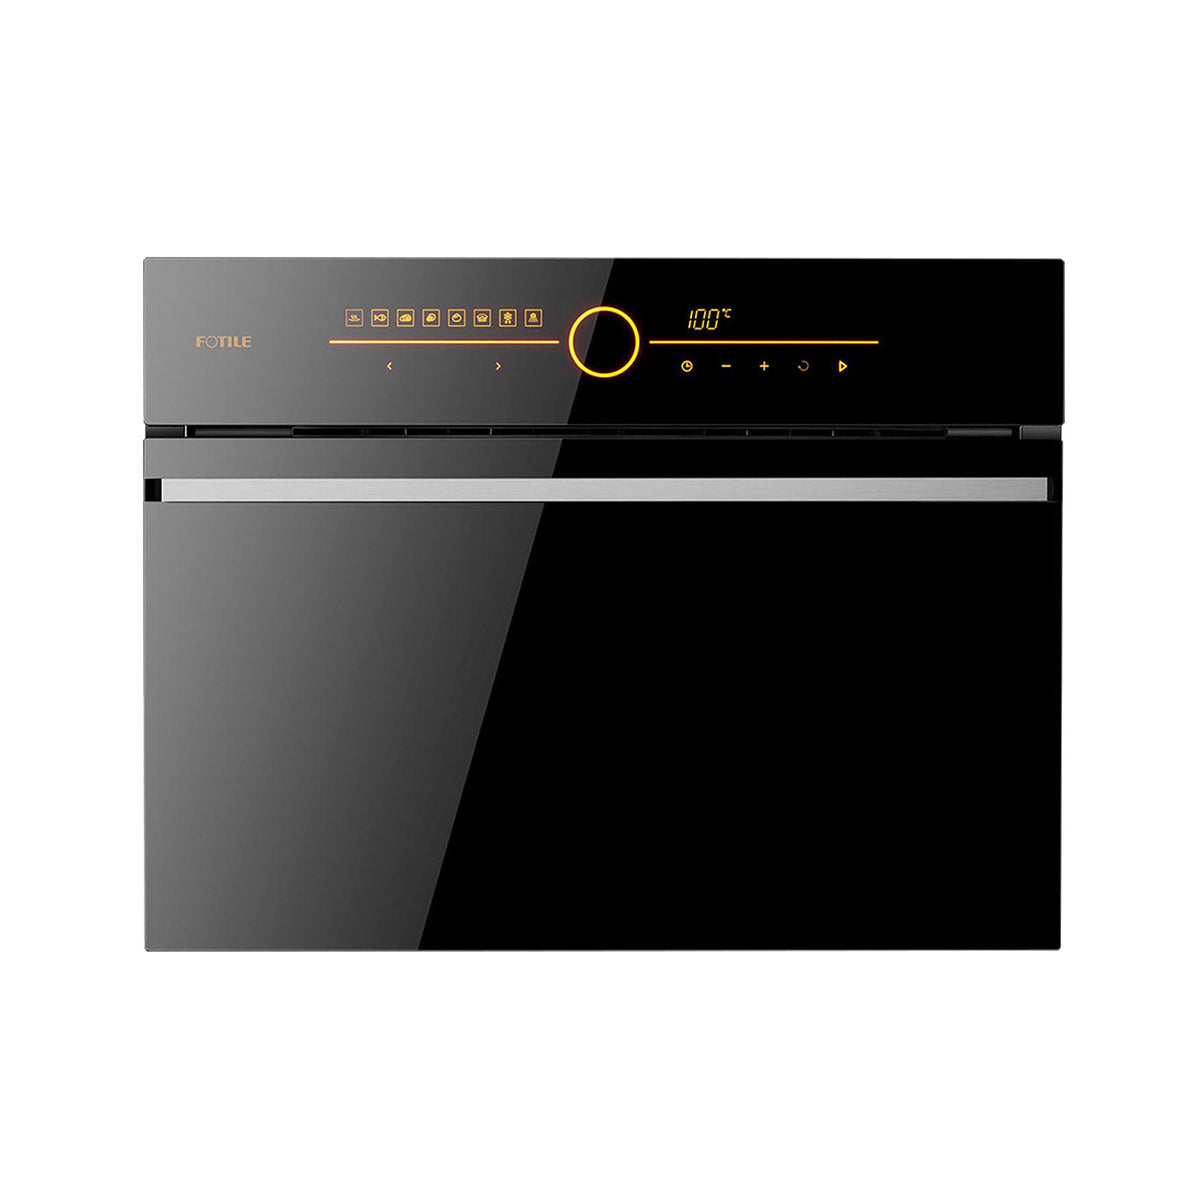
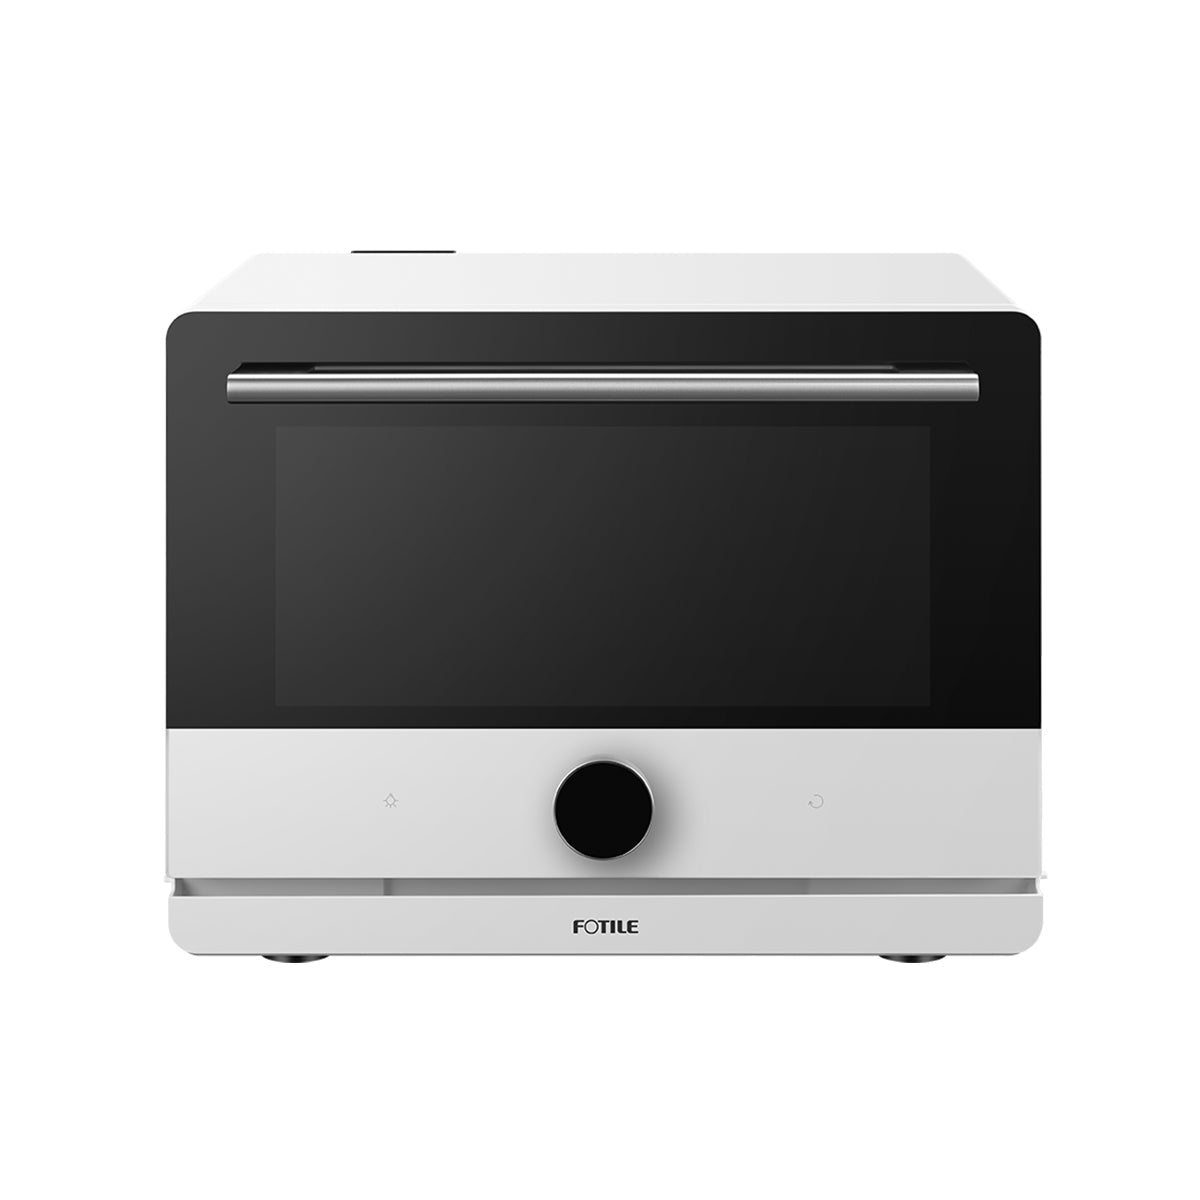
Steam Ovens
1. For steamer trays, grease trays and cooking containers: wash and wipe dry after each use.
2. For steamer panel and casing: clean with hot water and a little cleaning solution, then wipe dry with a soft cloth (for stainless steel panels, wipe in the direction of the ""steel grain""). Do not use cleaners with alkaline, soda, acid or chlorine or corrosive cleaners. Don't use hard brushes, cloths or wire brushes as they may corrode or scratch the surface.
3. The inside of the steamer: after each use, the interior of the product should be cleaned in time. A soft rag and mild detergent with warm water can be used to wipe away the condensation on the inner cavity wall. In areas with poor water quality, there may be a layer of white sediment on the inner wall of the product, which can be wiped with a damp cloth with a small amount of vinegar and then wiped dry with a rag and water.
4. For water tank: empty the water tank after each use and dry it.
5. For side brackets: disassemble the side brackets first and then use the above methods to clean the steam oven."
Under the ambient temperature of 25℃±3℃, the initial water temperature of 20℃±3℃, fill the water tank of steam oven to the maximum scale, and heat the water to 100℃. The preheating temperature rise time is 5-10 minutes under no-load condition.
You can choose whether to put the dishes in the steam oven after preheating, depending on your taste and preference. Dishes put in the steam oven after preheating usually taste better. The color is vibrant and the moisture is just right. Dishes put in the steam oven without preheating are more cooked, they have more moisture and are darker in color.
The first time uses steam oven may produce odor (glass glue smell), which is due to the use of silica gel to seal the steam oven, and the unventilated of packaging boxes. These kinds of odor are normal, please be assured use. The following methods can help you reduce the odor.
1. You can add a pot of water before the first use, steam it for 10 minutes and then use the steam oven.
2. We recommend that you open the door after each use, to let the water vapor dissipate, and use the absorbent sponge to clean up the water inside the steam oven. If you can still smell the odor, please put some lemon water in the tank and let the steam oven work for a while.
3. If you will not use the steam oven for a period of time (such as on vacation), you should clean the machine thoroughly first, and then open the steam oven door to avoid odor.
At the same temperature but different modes, the steam oven will produce different amounts of steam per minute and the heating rates are different, which is similar to the principle of small flame and large flame of the hob.
1. When using perforated steam tray to cook food, please insert a grease tray at the bottom to prevent grease, sauce and others from dripping on the inner liner. Do not place the cooking utensils directly on the bottom of the liner.
2. Do not open the door frequently during the cooking process to avoid heat loss and a longer cooking time.
3. You'd better to stand on the side of the door after cooking, first open the door a gap to let a large amount of hot air out and then open the door to avoid being burned by the heat.
4. We recommend that you use pure water to cook every time, for others may produce scale after heating, and affect the heating efficiency of the steam oven and shorten the life of the heater."
In order to shorten the heating time of the steam oven, you can inject warm water directly into the tank, but it is not recommended to add boiling water directly, because if the pump is pounded back and forth by 100 degree water, the performance of the pump will deteriorate and its service life will be shortened.
Switch off the power supply, remove the water tank and add hot water (around 60°C) until the fill line. And add a packet of special cleaner to the tank. Soak for 3-5 minutes (the longer the soaking time the better the result). Until the limescale is completely dissolved, rinse the inside of the tank thoroughly twice.
2.5mm² wire is required, keep the steam oven 45mm away from the back of the kitchen cabinet. The cabinet should be heat resistant to 100°C or more. Keep the steam oven away from heat sources, gas pipes, ethanol and other flammable substances. 10A socket is required as well.
The 10 minute steaming time in the menu applies to frozen buns or dumplings purchased from the supermarket. If the buns or dumplings are made by yourself, it is recommended to keep each bun or dumpling the same size and extend the cooking time by 5-10 minutes.
You can choose whether to put the dishes in the steam oven after preheating, depending on your taste and preference. Dishes put in the steam oven after preheating usually taste great. The color is vibrant and the moisture is just right. Dishes put in the steam oven without preheating are more cooked, they have more moisture and are darker in color.
(1) A temperature setting of 40°C requires 50 minutes to 1 hour for fermentation.
(2) A temperature setting of 45°C to 50°C requires 30 to 40 minutes for fermentation.
(3) Seal utensils with cling film first, and then put it directly into the steam oven or oven. For the oven, a bowl of water is required to be placed close to the side of the utensil to prevent burning. In spring and autumn, please follow the above fermentation times. In winter, we recommend to prolong the fermentation time for 2-5 minutes as the room is cooler. As the room is warmer in summer, there is no need to place the food in a steam oven or oven to fermentation, it can take place in an external environment. If required, please follow the spring and autumn instructions mentioned above.
As the steam oven has a fan cooling function, the fan will continue to work after the steam oven timer has finished to reduce the internal temperature of the steam oven. The running time is 20 minutes and it will stop running automatically after 20 minutes
As there is water vapour when steaming food in the steam oven, it is recommended to cover the container with cling film to ensure that the cooked dish is well balanced in terms of moisture and well controlled in terms of flavour.
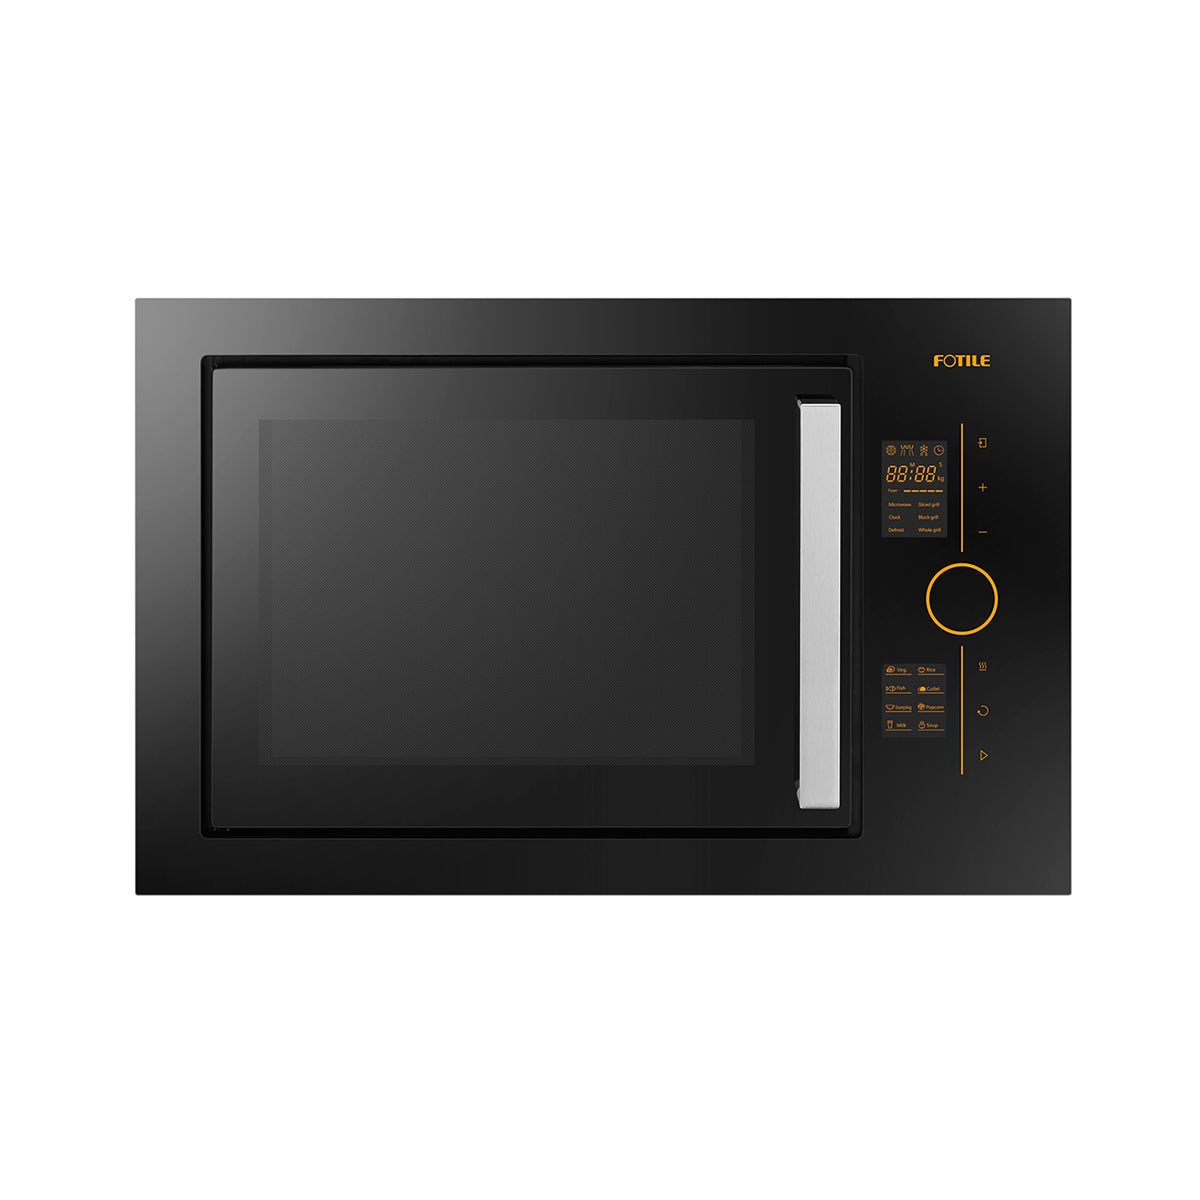
Microwave Ovens
The following four materials are the suitable for microwave oven.
a, glass
b, ceramic
c, plastic
d, adhesive film"
(1) Place some slices of lemon (or a few spoonfuls of lemon juice) in the microwave oven and cook them on high power for 2 to 3 minutes.
(2) Place a cup of black tea in the microwave oven and cook it on high power for 2 to 3 minutes.
(3) Place some orange peel in the microwave oven and cook them on high power for 1 minute."
The current of the power outlet for the microwave oven is 10A.
Because electricity can be saved for energy conservation reasons.
(1) Disconnecting the power supply before cleaning.
(2) To clean the surface of microwave: use a cloth moistened with detergent and warm water, do not use abrasive cleaners and cleaning utensils.
(3) To clean the door: wipe the door, both sides of the door and window, the seals and components with a warm, damp cloth; do not use abrasive cleaning agents.
(4) Care should be taken when cleaning the console, do not get too much water on it, wipe it with a soft cloth with a little water, do not scrape it and do not use abrasive cleaners."
"There are three possible reasons:
(1) A grill is placed during microwaving, the grill is used in grill mode and cannot be used in microwave mode.
(2) Metal utensils are used when microwaving, metal containers and containers that are not resistant to high temperatures should not be used in microwave mode.
(3) The microwave oven lining is too greasy, it is recommended that the grease be cleaned up."
"The microwave oven must be used in a dry, ventilated and non-corrosive environment, flat and away from heat and steam. The microwave oven should be kept away from televisions, radios and aerials (generally with a distance greater than 5m) as this can cause interference to microwave oven. A separate power supply must be used for Fotile microwave oven or a fuse may be blown. It is recommended to use a fuse of 10A (ampere) or more, and the plug must be plugged into a earthed socket."
This is because the microwave oven has a fan cooling function, which continues to run for 2 minutes after the microwave oven has finished working to dissipate heat. 2 minutes later it automatically stops operation.
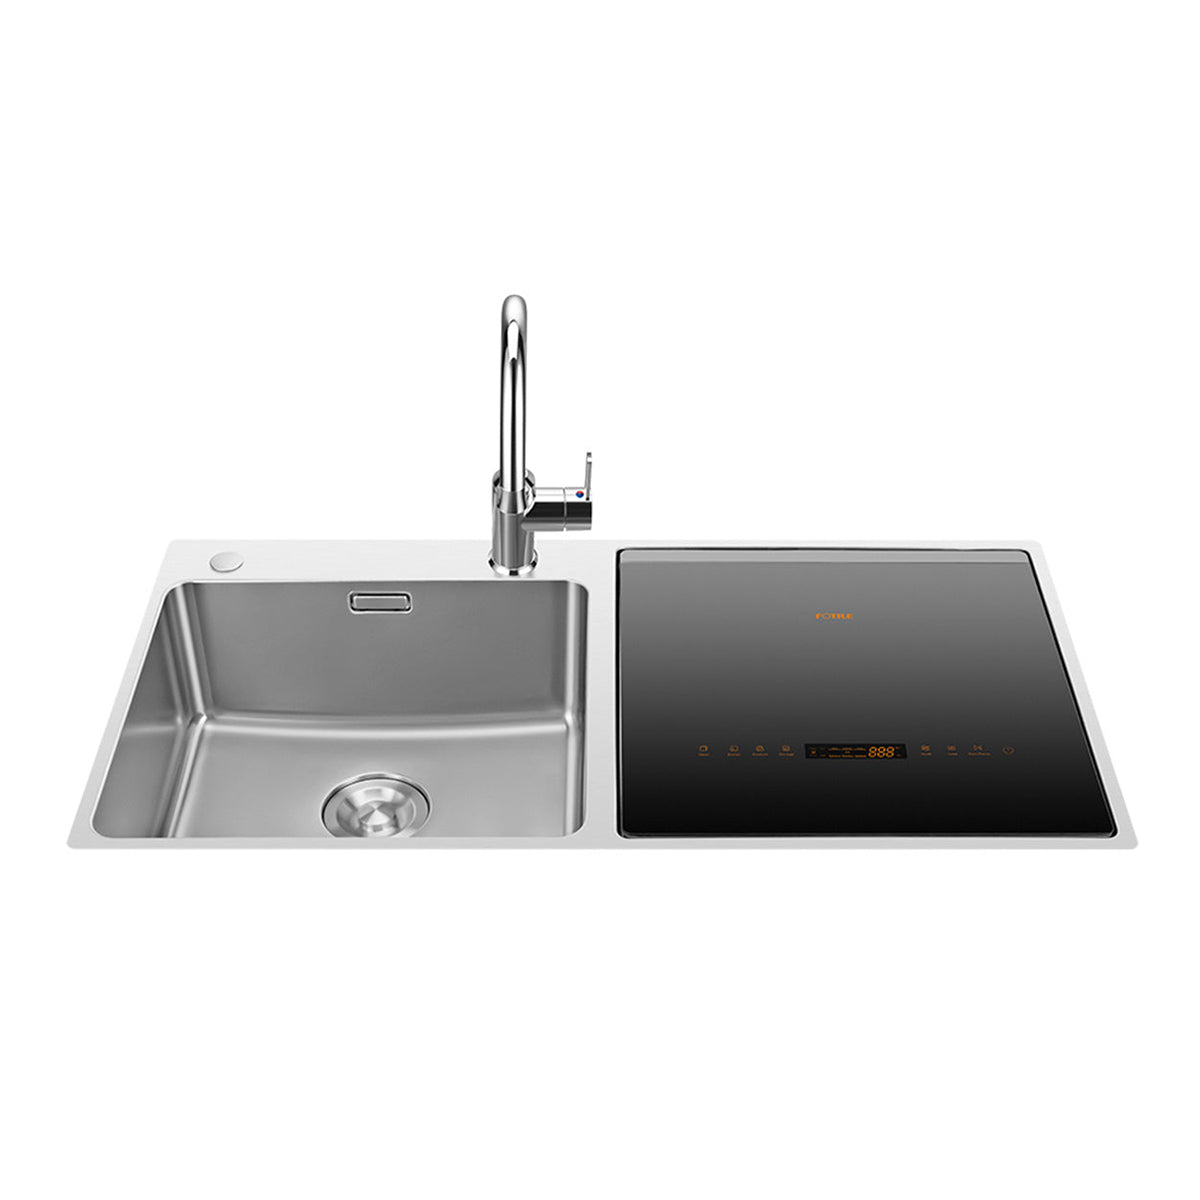
In-Sink Dishwasher
If the dishwasher is not cleaned in time, it may produce peculiar smell. The following methods can help you reduce the peculiar smell:
1. The food residues in the residue basket should be cleaned in time after each use;
2. It is recommended to claean the cavity regularly (clean the inside of machine regularly (1-2 times a week) with "standard washing" or "cavity cleaning" mode), and open the door to ensure ventilation.
No. After the washing is finished (the time countdown is 00), you need to wait for about 20-30 more minutes. At this time, the dishwasher is completing exhaust and drying with residual temperature. Open the door after "00" is no longer displayed.
The main components of scale are calcium carbonate and magnesium hydroxide. Most household water will produce scale after heating, which is also closely related to the local water quality. Just like using a kettle, if it is often used, there will be scale on the bottom. If there is scale on the dishwasher, it is recommended to clean it regularly with white vinegar or descaling detergent.
1. Before putting the tableware into the dishwasher, pre clean the residue in the dishes, so as to ensure that there is not too much residue on the dishes and there will not be so much residue in the dishwasher.
2. It's also no need to be worried if there is any residue. Just check and clean the residue in the residue basket."
Manual cleaning:
1. TheResidue basket: Clean up the food residue in the residue basket in time after each use, otherwise it will affect the next cleaning effect and produce peculiar smell;
2. The Panel board and door glass: They can be cleaned with sponge cloth, dipped in hot water which with a small amount of cleaning agent. Then wipe them dry with soft cloth. To avoid scratching the surface, do not use cleaning cloth and metal filaments to clean;
3. The Spray Arm: Turn counterclockwise to remove the spray arm, take off the filter and clean it. Do not scratch the sink with a steel brush or rough brush. After cleaning, wipe dry the sink with a sponge or cleaning rag (to avoid interfering with the rotation of the spray arm, try not to have large residues (such as bones) in the dishes)
4. The Stainless steel sink: First add a small amount of neutral detergent in the sink. To prevent corrosion of the sink, do not use strong bleaching powder, household chemicals, etc., then clean it with clean water;
5. The gap at the joint of the door: it cannot be disassembled. It can be cleaned by sodium citrate (the descaling agent of the steam box) with cotton swabs;
6. If "floating rust", "mildew" and other conditions appear on the sink, they can be cleaned with toothpaste. Apply the toothpaste to the rust and spots, wipe clean with dishcloth; Remember do not use scourer, polishing pieces or polishing materials to clean the sink;
7. During the cleaning of dishes, fruits and vegetables, it is forbidden to put dish soap and foam detergent;
Self-Cleaning of dishwasher:
1. For self-cleaning, first keep the in-sink dishwasher empty, then put the required amount of dishwashing powder, and select the standard washing mode key (some models have the "cavity cleaning" function key) to enter the "self-cleaning" mode. After about 30 minutes, the interior of the dishwasher is clean.
2. The dishwasher cleaning tablet can also be used to remove stubborn scale and oil stain, it will help to remove the peculiar smell of the sink, improve the washing effect and prolong the service life.
Secondly, when the in-sink dishwasher works, it will be affected by environmental factors (water pressure, inlet water temperature difference and drainage). And the actual working time will also be affected, so it is normal to prolong the washing time.
1. During daily use, please do not put lemons, sauces, pickles, mustard or other rich salt or aggressive food in the sink and on the panel for a long time to prevent corrosion of the sink;
2. After washing the dishes, open the lid and dry them. Please keep a distance from the dishwasher to avoid being scalded by hot air; After 15 minutes of ventilation, open the door to keep the interior of the dishwasher dry and clean;
3. Do not place low carbon steel or cast iron cookers in the sink for a long time or leave steel balls, rubber dishwashing pieces, wet dishwashing sponges or other cleaning pads in the sink to avoid the formation of floating rust and mildew;
4. Try to avoid sharp and hard utensils such as knives, forks and cookware hitting the sink to prevent scratching or denting the surface of the sink;
5. When placing tableware, do not leave fragile items such as goblets in contact with other tableware.
There is a layer of oil on the unpacking surface of the dishwasher, which is food grade protective oil. The oil is mainly used for the surface protection of stainless steel with high protective ability. It is recommended to flush it with hot water before the first time use.
At present, the product measurement result is about 58 dB. These data are all internal test data of our laboratory.
Dishwashing powder can be sprinkled directly in the dishwasher, and the dishwashing tablet should be put into the residue basket.
The standard power consumption of the in-sink dishwasher for washing tableware is only 0.32 degrees (laboratory calculation data, only for reference), and the power consumption is far less than that of the traditional dishwasher.
If you use baking soda and cooking soda to clean the dishwasher, it will make the stainless steel panel yellow over a long time, so it is recommended to use dishwashing powder.
The existing fruit and vegetable purifiers have small capacity, and most of them remove agricultural residues through ozone. The volume and working principle are different. We use ultrasonic (or ultra-fine bubbles) to achieve a removal rate of more than 90%.
Yes, the role of dishwashing salt is to restore the water softening capacity of the water softening resin in the water softening device.However,the in-sink dishwasher does not have a water softening device, so there is no need to add dishwashing salt.
The dishwasher can kill some bacteria through high temperature, but it is recommended to take it out if it is not used for a long time, otherwise new bacteria may grow, or it needs to be cleaned again before use.
No, it is strictly forbidden to put in foam detergents such as dish soap. Too much foam will affect the normal work of the dishwasher, you can use dishwashing powder.
If you need both cold water and hot water for the sink, you can connect the sink to hot water pipe line. But the dishwashing function sink is forbidden to connect to hot water pipe line.
1. The material of the plastic parts inside the in-sink dishwasher cavity is high temperature resistant material, which can be used for a long time at a high temperature of more than 100 °C
2. Some non-high temperature resistant disposable plastics can not be put into the dishwasher."
In-sink dishwashers are drained by self-weight, they are the same to sink drainage.
The nozzle above the spray arm is designed with a convex hull to avoid being blocked. Even if the spray arm is blocked, rinse it with clean water after removal.
Water purifier can be installed under the sink, but a larger water purifier can not be installed, so user needs to think about the installation space before installation.
No, cutting is not available on the dishwasher panel. Because the load-bearing capacity of the panel is small, and it is easy to be scratched, and things cannot be put on it.
If the cabinet space is enough to install them at the same time, it is recommended to install the dishwasher first. If you installed the water purifier first, and then dishwasher, you may have to move the water purifier out as well. Installing the water purifier too early and not using it for a long time, it is easy to breed bacteria inside the purifier, and it is recommended to install the water purifier after moving in. And of course it is also possible if the user wants to install the water purifier first.
First, confirm the part that can't be dried: the door, slot or tableware.
1. There are water droplets or vapor at the bottom of the door or slot.
This is a normal situation, the drying is mainly for tableware, in order to achieve the best drying effect, we recommend that you open the door after the dishwasher screen is off and ""00"" is no longer displayed (""00"" is displayed when the dishwasher is drying the tableware), to let the moisture evaporate naturally, keep the door and cavity dry.
2. If the tableware can't be dried, select the most suitable cleaning mode:
1) Delicate and fast wash mode
In the delicate and fast wash mode, the last wash temperature is lower, so the residual heat drying or exhaust drying effect will not be as good as the intensive mode, it is recommended to use the intensive mode. 2) Normal or intensive mode
Dishwasher can dry most of the tableware; but for some heat dissipation fast material tableware, the drying effect will be poorer, such as: plastic, stainless steel, wood tableware. It's mainly because these materials are fast heat dissipation, the evaporation of moisture on the surface of tableware is slow, so the drying effect is poorer than ceramic tableware."
On-bench installation (panel is higher than the table)
Residual temperature drying (use residual temperature of cavity to evaporate water)
1. Press and hold the power button to start the dishwasher for the first time usage.
2. If the long press doesn't work, unplug the power and plug again (the plug-in time difference is recommended to be half a minute), which is similar to the restart of the computer. After the successful restart, the screen will light up or make a drop sound.
3. If there is still no response, it is recommended that to replace a socket to try or check whether the power supply at home is normal.
4. If everything is normal, but there is still fault, it is recommended to ask a technician for door-to-door maintenance. It may be the problem of the power board or door assembly."
It can wash the pan but we don't recommend you to do so.
1. Espicially the frying pan and iron pan heated by open fire are not suitable. Because they have bottom ash and will produce carcinogens, which is not conducive to health; If the iron pan is washed in a dishwasher, it will be damaged and the service life will be shortened.
2. If you have to wash the pan with dishwasher, it is recommended to wash the pan and tableware separately, with the pan mouth facing down.( The bowl rack cannot be removed because it may block the work of the spray arm)"
Dishwasher dishwashing mode: 70 degrees (Model E5/Z5 is 75 degrees) high temperature sterilization, it is similar to the principle of pasteurization: quickly heated to the specified temperature and last about half an hour, the removal rate of Staphylococcus aureus and E. coli bacteria is 99.99%, but the further disinfection has to be done with professional sterilizer.
Cavitation occurs when ultrasonic wave propagates in water, forming tens of millions of invisible bubbles. The impact force generated by bubble explosion can quickly peel off stains and pesticide residues. The ultrasonic waves from our dishwashers are just like the ultrasonic waves from bats, which have no effect on human beings.
After placing the tableware, sprinkle some dishwashing powder on it. It is recommended to use 8g of dishwashing powder each time. And you can add 15g of dishwashing powder for heavy grease tableware. Dishwashing tablet can be put in the residue basket before placing the tableware.
The in-sink dishwasher does not use ultrasonic wave to wash dishes. It is only used to wash fruits and vegetables.
Tableware is not clean after washing by coincidence:
1. Check if any foreign objects have fallen in (chopsticks, large residues, etc., they will get the spray arms stuck). Remove the foreign objects if you can, if not, remove the spray arm.
2. To confirm whether the spray arm is installed in place or not. If it is tilted and can be picked up directly, it needs reinstalled correctly.
3. To confirm whether the dishwasher is not cleaned for a long time or not (Such as the residue basket and the bottom of the function tank are not cleaned). If so, clean the residue basket, spray arm and use ""standard wash"" mode to clean the function tank regularly (once or twice a week).
The tableware can't be cleaned after washing all the time:
1. Remove the residue before washing the dishes.
2. Correctly place the dishes (it is recommended to tilt the bowls with the mouth down and leave a gap between the bowls).
3. Add dishwashing powder.
4. It's recommended to choose ""intensive"" mode to wash tableware (In addition to wine glasses)."
1)The in-sink dishwasher should be installed steadily in a place where it is easy to operate and maintain and is firm, and it should not be installed at an angle.2)Avoid installing power socket in places that are damp or easily get wet, and it needs a separate wire diameter of 1.5 square (16AWG) or more and a 10A three-hole outlet, and must be grounded.3)The installation position needs to be at a distance from heat sources such as ovens and hobs.4)When installing the dishwasher, it should be kept more than 30cm away from the gas meter and the gas pipe.5)Based on 800mm high cabinets, the height of the dishwasher downpipe from the floor is less than or equal to 300mm. Based on 900mm high cabinets, the height of the dishwasher downpipe from the floor is less than or equal to 400mm.6)During installation, all drain pipes, power sockets and angle valves of cold and hot water pipes shall be kept away from the underneath of the dishwasher function sink as far as possible, it can be installed below the sink."